
- Installing Let's Encrypt SSL Certificate on Amazon Linux 2023 with Apache
Securing your website with an SSL certificate is essential for establishing a secure connection and encrypting data between users and your server. Here, we’ll guide you through the process of installing a Let’s Encrypt SSL certificate on an Amazon Linux 2023 server running Apache, and we’ll configure virtual hosts for handling multiple domains.
Before You Start
Make sure you have the following prerequisites ready:
- An Amazon Linux 2023 server with root or sudo privileges.
- A registered domain name with access to its DNS records for association with your server’s public IP.
- Comfortable familiarity with Linux terminal commands.
- Understanding of Apache server management for SSL setup.
- Basic knowledge about SSL certificates and their role in securing data.
Preparing the Amazon Linux Environment
Begin by ensuring your Amazon Linux 2023 environment is up-to-date:
sudo dnf update -yInstalling Apache and mod_ssl
Apache is a widely-used web server, and mod_ssl is an Apache module that facilitates SSL encryption.
To install Apache and mod_ssl on Amazon Linux 2023:
sudo dnf install httpd mod_sslConfigure Apache to start on boot:
sudo systemctl start httpd
sudo systemctl enable httpd
Check if Apache is running:
sudo systemctl status httpdAlternatively, enter your server’s IP address in a browser to see the Apache test page.
Configuring Virtual Host
Edit the virtual host configuration file:
sudo vi /etc/httpd/conf.d/vhost.confAdd the following content, replacing echomediacloud.com with your domain:
<VirtualHost *:80>
    ServerName echomedicacloud.com
    ServerAlias www.echomedicacloud.com
    DocumentRoot /var/www/html
    ServerAdmin info@echomedicacloud.com
    <Directory /var/www/html>
        AllowOverride All
    </Directory>
</VirtualHost>
Save and exit the editor.
Acquiring the SSL Certificate
We’ll use Let’s Encrypt to obtain a free SSL certificate.
Installing Certbot
sudo dnf install python3 augeas-libs

sudo python3 -m venv /opt/certbot/
sudo /opt/certbot/bin/pip install --upgrade pip

sudo /opt/certbot/bin/pip install certbot certbot-apache
sudo ln -s /opt/certbot/bin/certbot /usr/bin/certbot
Obtaining the SSL Certificate
Run Certbot and follow the instructions:
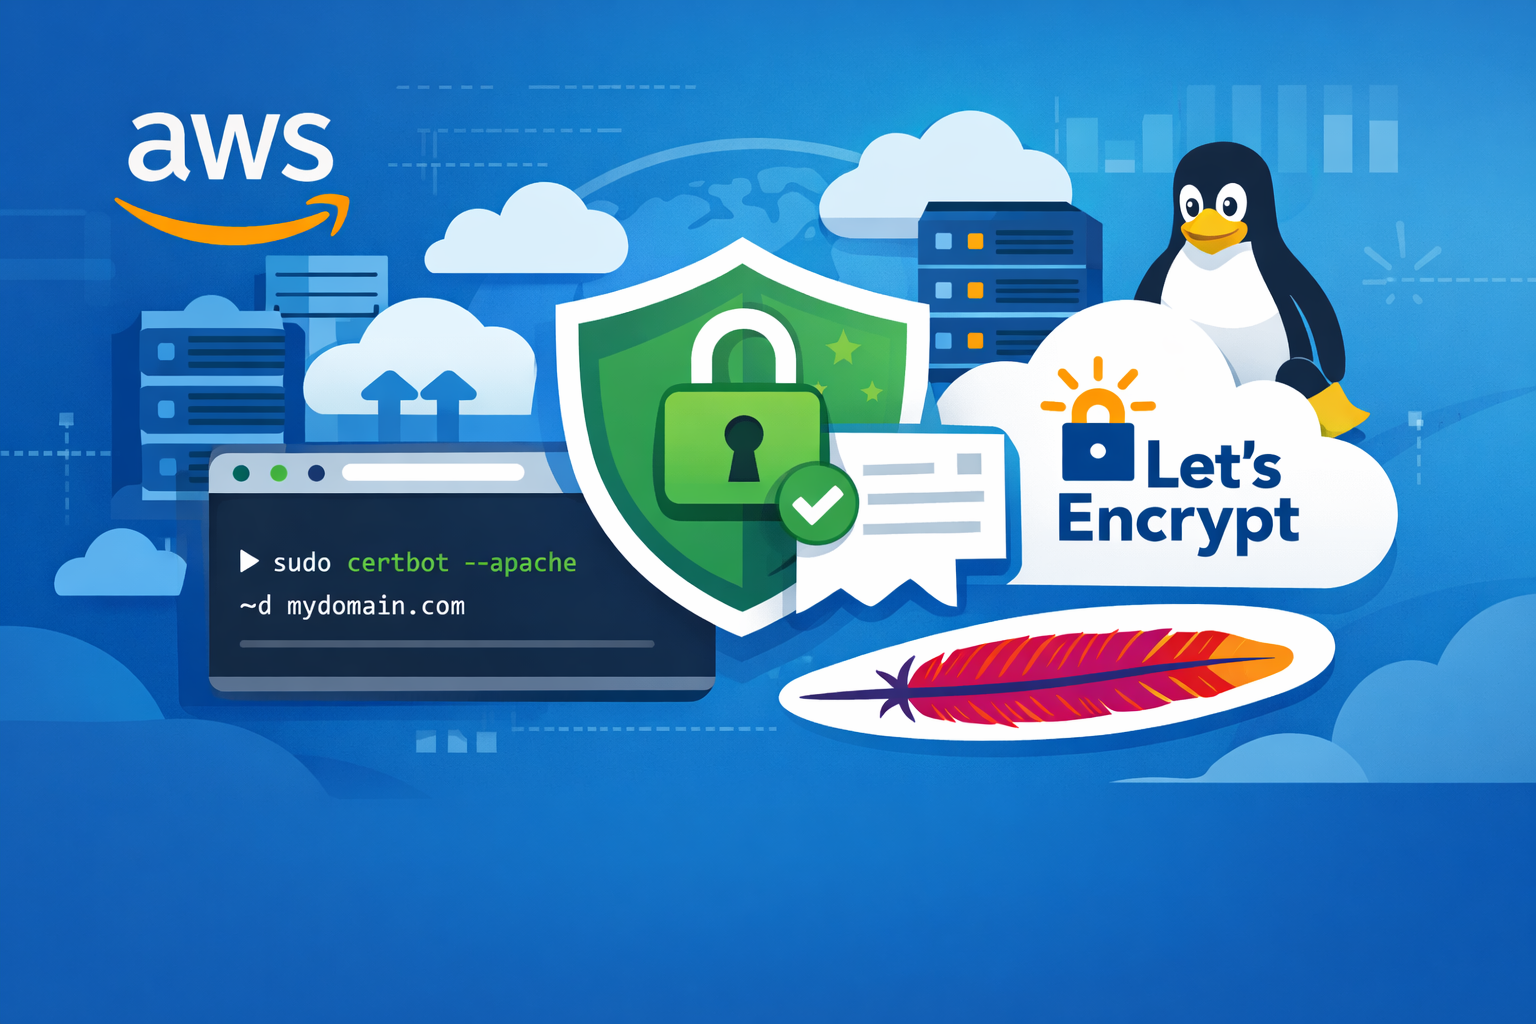
sudo certbot --apacheBe sure to enter your email and agree to the terms. For better security, select the option to enforce HTTPS access.
Confirming SSL Installation
Restart Apache to apply changes:
sudo systemctl restart httpdVerify SSL by visiting https://yourdomain.com and checking the certificate status:
sudo certbot certificatesSetting Up Automatic Certificate Renewal
Since Let’s Encrypt certificates are valid for 90 days, regular renewal is necessary.
Test the renewal process:
sudo certbot renew --dry-run
